Why solar security cameras are the future (and why we care)
We argue that solar-powered outdoor cameras are a pragmatic, design-forward choice: they cut wiring, reduce blind spots, and boost uptime in sunny climates. Our guide focuses on reliability, ecosystem fit, and practical trade-offs buyers face in today’s competitive smart-home market — see our how-to guides.
What we'll need

Pick the right camera and panel for your site
Not all solar security kits are created equal — which compromises are worth it?Pick a camera with adaptive exposure, reliable IR or color night vision, and flexible recording (local SD + cloud) so we aren’t forced into a single storage model.
Look for ecosystem compatibility—check HomeKit, Alexa, or Google badges and test third‑party integrations; Ring and Nest tend to tie you to subscriptions, while brands like Eufy or Reolink offer stronger local options.
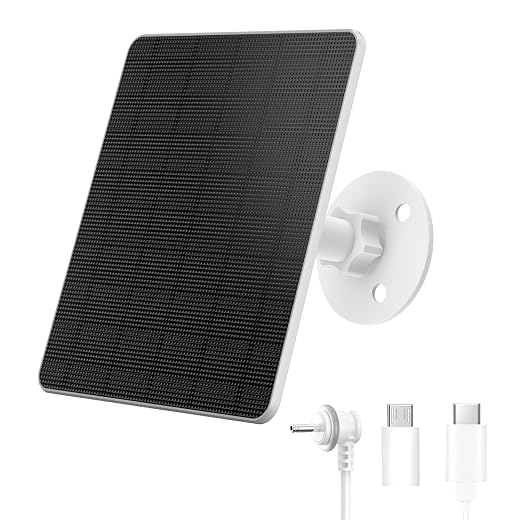
Prioritize panel wattage and a charge controller that matches the camera’s voltage/current so the unit stays online through cloudy stretches.
Calculate autonomy: convert battery specs to watt‑hours (e.g., 12V×10Ah=120Wh) and divide by the camera’s average draw (W) to estimate hours of runtime.
Compare vendor ecosystems, battery capacity. power draw, and whether the panel includes MPPT or PWM charge control before we buy.
Survey and choose optimal placement
Want fewer false alarms and longer battery life? Location choices do the heavy lifting.Treat placement as UX design: think about sightlines, motion zones, and sunlight exposure so we reduce false alerts and maximize runtime.
Use your phone to simulate fields of view and frame entrances and paths; stand where a visitor would and record a quick video to verify detection.
Mark the panel’s direct-sun areas during peak hours (roughly 10am–2pm) so we choose an angle that nets 4–6+ good sun hours.
Avoid obstructions like eaves and trees that clip the view or cast mid-day shade and shorten autonomy.
Balance higher mounting for tamper resistance with ease of maintenance—if we can’t reach it, we won’t service it.
Check local privacy laws and talk with neighbors before aiming at shared spaces; respect civility while securing our property.
Mount the panel and camera securely
A few smart hardware choices make the difference between seasonal maintenance and constant fiddling.Mark mounting holes precisely—hold the bracket level, press it to the wall, and pencil pilot points so screws land where we expect.
Select anchors by surface:
Tighten fasteners to spec—if unspecified, aim ~2–4 N·m (18–35 in·lb) for small camera screws and 10–20 N·m (88–177 in·lb) for masonry lag bolts; avoid over‑torqueing that cracks mounts.
Face panels true south in the Northern Hemisphere (true north in the South) and tilt to your latitude for annual yield (e.g., 40° latitude ≈ 40° tilt; ±10° seasonally).
Mount cameras on vibration‑damping pads, use Torx/security screws, and seal cable entries with exterior silicone or IP‑rated glands.
Route cables through eaves or conduit with UV clips so installations stay stealthy, durable, and serviceable.

Wire it up and manage power intelligently
It’s not rocket science — but battery management is where most systems win or fail.Connect the panel to the charge controller, then to the battery and camera—always match positive to positive and negative to negative, and install an inline fuse on the positive lead. Use a multimeter to verify panel open‑circuit voltage, battery resting voltage, and controller output under load.
Check polarity and test under load: measure at the camera while it’s recording to confirm voltage stays in the camera’s operating range.
Choose power mode deliberately. Prefer motion‑triggered recording for battery longevity; expect continuous recording to demand roughly 2–5× more battery–capacitor flash. Reduce frame rate (10–15 fps), lower resolution where acceptable, and enable event‑only uploads to maximize uptime. Beware cloud plans: frequent uploads and continuous cloud recording can dramatically increase power and data use.
Tilt panels steeper for winter, keep panels snow‑free, and use temporary supplemental power (AC adapter or power bank) plus energy‑saving firmware.

Integrate with your network and smart home
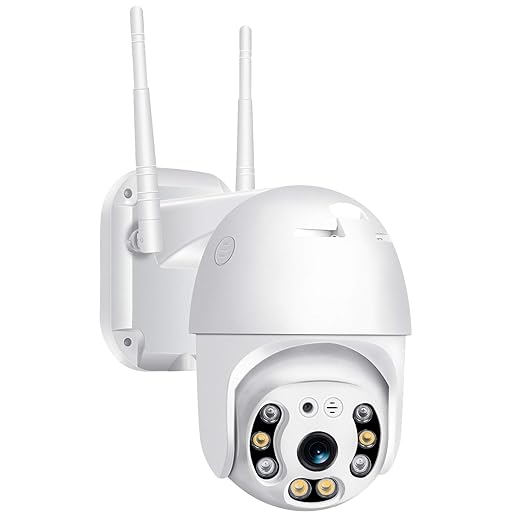
A camera that’s isolated is just a lamp — connect it the right way and it becomes useful.Provision Wi‑Fi through the camera app or WPS and walk the site with a phone to confirm signal where the camera will live. Prefer 2.4 GHz for range unless the camera explicitly supports long‑range 5 GHz.
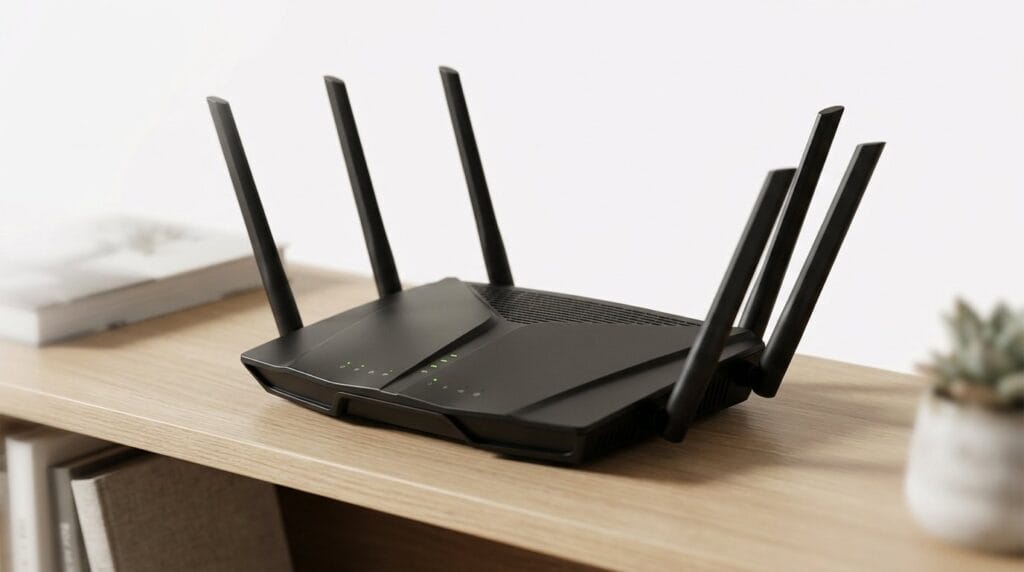
Boost connectivity with targeted hardware when needed. Consider:
Estimate bandwidth by multiplying camera bitrate by concurrent streams. Example: 1080p H.264 ≈ 1–3 Mbps continuous; motion‑only uploads cut that dramatically.
Assess whether the camera supports local storage (microSD/NVR) and ONVIF so you can use third‑party NVRs and avoid vendor lock‑in.
Choose integrations deliberately. Prefer platform hooks (HomeKit Secure Video, Alexa Guard) for ecosystem features and privacy, but keep local recording as a resilient fallback during outages.
Test, tune, and maintain for long-term reliability
Installation is only half the job — what we do next prevents 90% of future headaches.Run a testing checklist before you declare the install finished.
Schedule routine upkeep and security.
Wrap-up: thoughtful installation pays dividends
We pick the right kit, place it deliberately, and treat power and integration thoughtfully so solar cameras become low‑maintenance, privacy‑minded defenders. The market’s matured—better design, ecosystems, and value—so let’s install one, report back, and help others choose wisely today together.
Frequently asked questions
What should I prepare before I install solar-powered outdoor security cameras?
Start with the checklist in the “What we’ll need” section above—measure your space, confirm compatibility with your gear, and read the full walkthrough once before you change settings or buy parts. Solar-powered outdoor security cameras goes faster when prep is done upfront.
How long does it take to install solar-powered outdoor security cameras?
Most readers finish in about 30–90 minutes if they already have the right parts, but budget extra time for measurements, firmware updates, or a second pass when something does not behave the way the manual suggests on the first try.
What is the hardest part when you install solar-powered outdoor security cameras?
The step that trips people up is usually alignment or configuration—getting measurements, cable routing, or software settings right before you commit. If results still look off, re-check the basics in order instead of swapping hardware immediately.
What mistakes should I avoid when I install solar-powered outdoor security cameras?
Skipping measurements, ignoring ventilation or port limits, and rushing the final test are the common failures. Photograph your starting setup, label cables, and verify the outcome with the same content or workflow you will use every day—not a one-off demo.
When should I call a pro instead of trying to install solar-powered outdoor security cameras myself?
Bring in help when the job needs structural work, licensed wiring, or tools you do not own, or when repeated attempts still fail after you have followed the troubleshooting section. A short paid visit can cost less than replacing gear you damaged by forcing the install.

Princess Rioboca is the Lead Editorial Writer at Option Cutter, bringing over seven years of hands-on experience in consumer technology journalism. Specializing in home networking and smart home architecture, she transforms complex technical data into practical, real-world upgrades. Princess personally tests and audits every product she reviews—evaluating real-world Wi‑Fi throughput, cable management durability, and streaming ecosystem stability—to filter out spec-sheet noise. Her rigorous, field-tested insights are designed to give readers transparent, unbiased buying advice on what to purchase, what to skip, and exactly why.