Quick Overview: Why a Smart Thermostat Deserves a Moment
We’ll guide you through a confident, no‑nonsense install that balances compatibility, UI, and ecosystem trade‑offs. A smart thermostat can save up to 15 percent on heating — enough to pay for itself — so we focus on design, integrations, and user experience.
What You'll Need
Assess Your Wiring and HVAC Compatibility
Is your system actually ready for a smart upgrade—or will we hit a dead end?Audit the existing thermostat and HVAC. We open the thermostat, photograph the terminal block, and label each wire. Look for a C‑wire first—its presence determines many smart‑thermostat choices.
Identify the system: conventional furnace/AC or a heat pump. Note specialty controls like two‑stage, millivolt (gas fireplaces), or line‑voltage (electric baseboard).
Important things to record:
Photograph wiring and labels—compatibility is where most installs fail. Some brands assume a constant power source and offer power adapters or sensor workarounds; others require swapping components or hiring a pro. Knowing this up front steers our product choice and avoids surprises that kill the user experience.
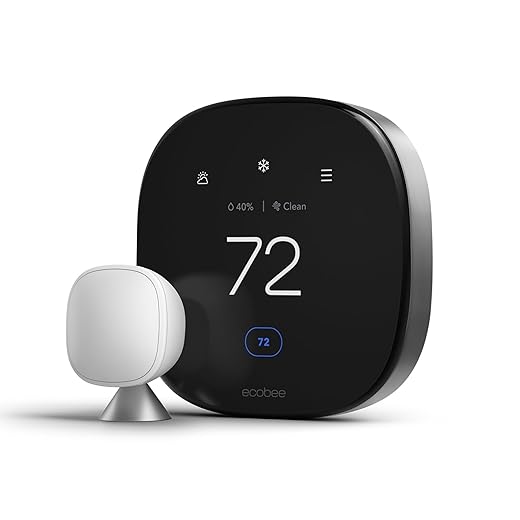
Choose the Right Thermostat for Your Home
We won’t pick gadgets by looks alone—ecosystem and compatibility trump style.Compare Nest, Ecobee, Honeywell, and budget brands across UI clarity, integration with Apple/Google/Alexa, sensor support, and subscription services. Focus on real‑world UX, not showroom polish.
Check these quick trade-offs:
Weigh learning algorithms versus manual scheduling—learning sacrifices predictability for convenience. Prioritize HVAC compatibility and ecosystem fit: a reliable app and stable integrations matter more than a fancy display. Factor long‑term costs—subscriptions can turn platform choice into a market decision, not just a feature pick.

Turn Off Power and Remove the Old Thermostat Safely
Sounds basic, but one wrong move can fry your system—here’s our safe approach.Cut power at the HVAC breaker and the furnace switch to avoid shorting control circuits.
Verify power is off with a non‑contact voltage tester or a multimeter before we touch any wires.
Remove the thermostat faceplate gently to expose the terminals and cradle the base so wires don’t tug.
Document each wire with close photos and a quick note listing terminal letters (R, C, W, Y, G) and any jumpers.
Label each lead with painter’s tape and a pen so reconnection is frictionless.
Note mounting method and wall damage (plaster, paint rings) — older systems often hide missing C wires or unconventional jumpers; preserving parts protects warranty and speeds the next steps.

Wire and Mount the New Thermostat Correctly
Precision wiring: it's fiddly, but it determines how well your thermostat actually performs.Match each labeled conductor to the corresponding terminal on the new base using our photos and tape labels. Pull a little slack so wires don’t tug when you seat the thermostat.
Secure wires per the spec: tighten screw terminals firmly or insert into spring clamps. Screw terminals favor long‑term stability; spring clamps speed installs but can loosen over years.
Install the mounting plate level and flush. Use the supplied anchors, a small bubble level, and a thin shim to hide paint rings on uneven plaster; we often shim 1–2 mm at the bottom.
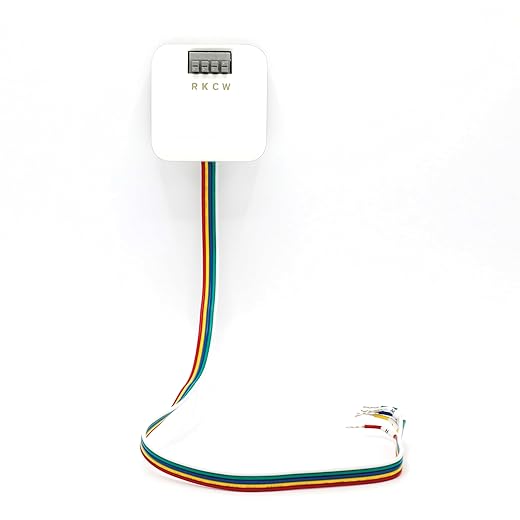
Decide how to handle a missing C‑wire: pick a vendor power‑extender kit, a common‑wire adapter/Add‑A‑Wire, or run a new conductor. Each trades cost, reliability, and ecosystem compatibility.
Route cables neatly, clip them to the wall, and verify solid contact—intermittent connections cause phantom errors and ruin the user experience.

Set Up Software, Integrations, and Initial Calibration
Connecting to Wi‑Fi is just the start—this step makes the device useful in our home.Follow the app flow to register the thermostat, update firmware, and join your Wi‑Fi (many units prefer 2.4 GHz). Watch the firmware step—updates fix flakiness and add integrations that matter.
Name zones and place optional remote sensors where you actually need comfort—example: label a sensor “Upstairs — Kids’ Room” and put it on a nightstand, not in a closet.
Link the thermostat to voice assistants and hubs to decide ecosystem lock‑in. Common options:
Calibrate temperature offset by comparing a cheap room thermometer to the thermostat reading and apply the adjustment. Set a simple baseline schedule or enable the learning mode and expect 1–3 weeks of adaptation.
Review privacy and subscription prompts: weigh remote analytics and energy reports against monthly fees and cloud dependence.

Test, Optimize, and Troubleshoot Common Issues
If it's not saving energy, it's not doing its job—let's make sure it actually performs.Run heating and cooling cycles to verify relays and observe system response; we watch for short‑cycling, incorrect mode switching, or fan issues.
Watch for short‑cycling symptoms—example: if the compressor cuts off within two minutes, the unit is short‑cycling.
Recheck wiring, ensure firmware is current, and consult diagnostics in the app when problems appear.
Contact a technician for persistent problems like unexpected HVAC behavior or lack of C‑wire power.
Use energy reports and ambient comfort data over two weeks to fine‑tune schedules and validate savings.
Compare vendor analytics and integration depth; we prefer products that expose diagnostics and tie performance to local weather and utility rates, because that’s where ecosystem design proves ROI.
You’re Done—Here’s What to Expect
We’ll monitor comfort and energy reports for weeks; the right thermostat and integrations simplify life and cut costs. If not, pro HVAC help is sensible. Try it today, share results.

Chris is the founder and lead editor of OptionCutter LLC, where he oversees in-depth buying guides, product reviews, and comparison content designed to help readers make informed purchasing decisions. His editorial approach centers on structured research, real-world use cases, performance benchmarks, and transparent evaluation criteria rather than surface-level summaries. Through OptionCutter’s blog content, he focuses on breaking down complex product categories into clear recommendations, practical advice, and decision frameworks that prioritize accuracy, usability, and long-term value for shoppers.