Why Dolby Atmos on a Soundbar Actually Matters
We explain how proper Dolby Atmos setup turns living‑room audio from passable into immersive, and why soundbar design, speaker configuration, and ecosystem choices (TV, AVR, streaming) limit real results in this how-to guide. We show what to watch for and what actually works today.
What We Need Before We Start

Set Up Dolby Atmos on Bose Smart Soundbars — Quick Guide
Confirm What 'Dolby Atmos' Your Kit Actually Supports
Is your soundbar pretending to be Atmos, or really delivering height? Let's sort the marketing from the reality.Audit the whole chain, not just the box. Many soundbars advertise “Dolby Atmos” but mean different things: true Dolby Atmos rendering (requires HDMI eARC and an Atmos renderer), up‑firing drivers that simulate height, or simple Atmos metadata passthrough to an AV receiver — our Dolby Atmos vs DTS:X comparison walks through format trade-offs.
Check these items now
Do this to avoid wasting time on firmware or settings when the hardware chain itself won’t deliver true Atmos spatial accuracy.
Choose the Right Room Layout and Soundbar Placement
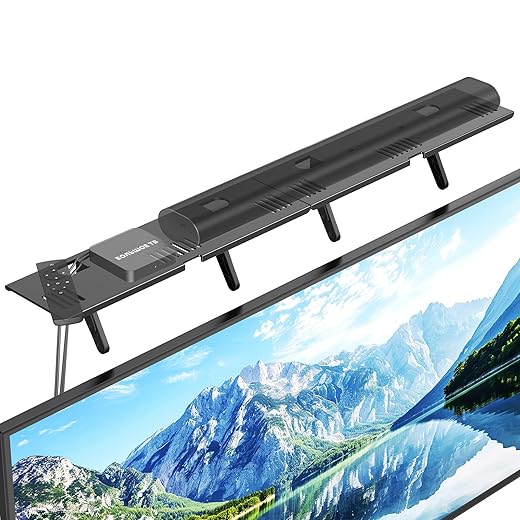
Small room? High ceilings? Placement changes everything — here's how to cheat physics with design and placement.Center the soundbar beneath the TV — we recommend keeping it aligned with the screen’s midpoint so imaging stays coherent. If using a stand, place the bar flush with the TV’s lower bezel; if wall‑mounting, use a sound bar mount and leave ~6–12 inches below the display so up‑firing drivers have a clear bounce path. In today’s market of ultra‑thin 4K TVs, that gap matters more than ever.
Elevate the bar so up‑firing drivers “see” the ceiling. Aim for a flat, reflective ceiling (ideal: 8–10 ft); vaulted or very high ceilings will dilute height effects and may demand dedicated overhead or rear surround speakers — surround height channels need a reflective ceiling to bounce convincingly; see our compact soundbar picks for tight layouts.
Place rear modules roughly 1–2 m behind and to the sides of the listening position, about 0.5–1 m above ear height, and avoid shelving cavities that muffle dispersion.
Hide wires neatly but don’t block vents or speaker ports — route 4K HDMI through a stand cutout or use flat cables along baseboards, keeping bends gentle.
Connect the Right Cables and Configure HDMI Modes
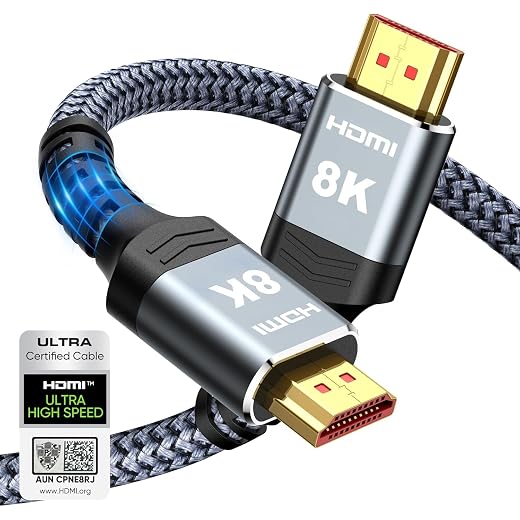
eARC vs ARC vs optical — one is the future, the others are compromises. Which path actually carries Atmos?Select eARC as your primary path — HDMI eARC basics explain why this is the only reliable route for lossless Dolby Atmos and full metadata passthrough on a capable Atmos soundbar. ARC and optical often downmix or strip Atmos, so don’t rely on them for full-height audio.
Enable eARC on your TV and soundbar: go to TV Settings → Sound → HDMI eARC (or CEC/ARC) and turn it on; on the bar enable HDMI Control/eARC. On some sets (example: Samsung, LG) you’ll also pick “Passthrough” or “Bitstream.”
Chain devices intentionally: prefer source → soundbar → TV for consoles and streaming players, or source → TV → soundbar only if the TV officially supports Atmos passthrough.
Verify handshake and cabling: confirm HDCP 2.2/2.3 support and use an Ultra High Speed HDMI cable (48Gbps) or certified High Speed with Ethernet for older gear — our HDMI 2.1 cable roundup flags certified options.
Troubleshoot if Atmos shows on the source but not the bar: reboot, toggle eARC, try direct source→bar, replace the HDMI cable, and confirm the source’s audio output is set to Dolby Atmos/bitstream.
Set Up the Soundbar’s Firmware, Modes, and Room Calibration
Don’t assume the factory preset is optimal — tiny firmware and calibration tweaks can unlock spatial realism.Update the soundbar firmware first to get codec, eARC and latency fixes—use the manufacturer app, USB or OTA update and reboot the unit.
Explore the bar’s Atmos modes and choose based on content and room:
Run the built‑in room calibration (mic‑based routines like Trueplay or Audyssey) and then adjust manually: tilt or nudge up‑firing drivers, shave high frequencies to reduce sibilance, and set bass cutoff to protect the subwoofer on home theater systems with a separate sub.
Check changes with a familiar Atmos demo track and listen for reduced fatigue and clearer dialogue.

Verify Dolby Atmos Playback and Troubleshoot Common Issues
Seeing 'Dolby Atmos' on your device isn’t the finish line — how do we know it's actually working correctly?Verify playback by watching for the on‑screen “Dolby Atmos” badge and the soundbar’s own decoding indicators or channel meters in its app. We check with both streaming demos (Netflix, Disney+, Apple TV+) and a known Atmos Blu‑ray to be sure — cross-check against our Dolby Atmos soundbar roundup.
Check object decoding by playing an Atmos demo track with moving sounds; we should see upward/height activity lights or an app readout. Confirm the bar isn’t receiving downmixed stereo.
Confirm common issues and fixes
Expect cheaper soundbars to need manual switching and cable swaps; premium sound bars usually auto‑switch and show clearer diagnostics — the Bose Smart Soundbar 900 Gen 2 review shows what top-tier setup looks like.

Fine‑Tuning for Daily Use: Apps, Profiles, and Ecosystem Integration
How to make Atmos play reliably across apps, consoles, and remotes — because convenience wins more than perfect sound.Set preferred audio formats in each app and device — for example, force Netflix and Apple TV+ to deliver Dolby Atmos where available and set consoles to bitstream/Atmos output. Create listening profiles on the soundbar or app for Movies, TV, Music, and Gaming so we can switch quickly.
Integrate remotes and smart assistants by mapping profile shortcuts or voice commands (e.g., “Alexa, Atmos Movie”). Prioritize platforms that matter — Netflix and Disney+ often carry the clearest Atmos metadata; Apple TV+ can be more consistent on Apple ecosystems.
Check firmware notes before updating and enable auto‑update only if the vendor has a solid rollback policy. Monitor for regressions weekly and run a quick Atmos demo after major updates.
Escalate to manufacturer support after we reproduce the issue across sources and resets; replace cheap HDMI cables or intermediary boxes before swapping major components.
Enjoying Atmos — What We Learned
When we align hardware, cables, placement, and settings, Atmos on a soundbar becomes more than marketing — it’s a real upgrade in immersion, clarity, and ecosystem fit. Try it, tweak per room, then browse more how-to guides and our home theater budget guide before you buy.
Frequently asked questions
What should I prepare before I set up a soundbar with dolby atmos correctly?
Start with the checklist in the “What we’ll need” section above—measure your space, confirm compatibility with your gear, and read the full walkthrough once before you change settings or buy parts. Soundbar with dolby atmos correctly goes faster when prep is done upfront.
How long does it take to set up a soundbar with dolby atmos correctly?
Most readers finish in about 30–90 minutes if they already have the right parts, but budget extra time for measurements, firmware updates, or a second pass when something does not behave the way the manual suggests on the first try.
What is the hardest part when you set up a soundbar with dolby atmos correctly?
The step that trips people up is usually alignment or configuration—getting measurements, cable routing, or software settings right before you commit. If results still look off, re-check the basics in order instead of swapping hardware immediately.
What mistakes should I avoid when I set up a soundbar with dolby atmos correctly?
Skipping measurements, ignoring ventilation or port limits, and rushing the final test are the common failures. Photograph your starting setup, label cables, and verify the outcome with the same content or workflow you will use every day—not a one-off demo.
When should I call a pro instead of trying to set up a soundbar with dolby atmos correctly myself?
Bring in help when the job needs structural work, licensed wiring, or tools you do not own, or when repeated attempts still fail after you have followed the troubleshooting section. A short paid visit can cost less than replacing gear you damaged by forcing the install.

Princess Rioboca is the Lead Editorial Writer at Option Cutter, bringing over seven years of hands-on experience in consumer technology journalism. Specializing in home networking and smart home architecture, she transforms complex technical data into practical, real-world upgrades. Princess personally tests and audits every product she reviews—evaluating real-world Wi‑Fi throughput, cable management durability, and streaming ecosystem stability—to filter out spec-sheet noise. Her rigorous, field-tested insights are designed to give readers transparent, unbiased buying advice on what to purchase, what to skip, and exactly why.