Why calibrating your TV matters (and why we care)
We use practical step by step calibration to improve everyday picture quality without pro gear, explain what changes and why they matter for streaming and HDR, and show how calibrated settings fit modern device ecosystems and competing displays in homes.
What we need before we start

Tune Your TV for Perfect Picture Quality
Start with a clean slate: reset settings and prep the room
Want accuracy? Ditch the showroom hype first — ambient light and presets lie to you.Reset your picture mode to factory defaults so we start from a neutral baseline. Close curtains, dim lights, and cover bright walls—ambient color and light shift perceived contrast and color saturation.
Turn off dynamic backlight, local dimming modes, and any “eco” brightness controls to avoid scene-dependent changes that confuse measurements. Check input labels and HDMI modes: consoles, streaming sticks, and UHD players can send different HDR metadata and force the TV into alternate processing states.
Use baseline photos or screenshots to document how the set looks out of the box. Record factory values and note presets like Filmmaker or Movie so we can revert after firmware updates or service resets.
Keep a quick checklist:

Update firmware and standardize inputs
Firmware and input quirks can wreck calibration — invest a few minutes to avoid hours later.Update the TV and every streaming device before we tweak controls. Firmware patches routinely change tone mapping, HDR handling, and motion algorithms — manufacturers push updates for HDR10+, Dolby Vision, or better LUTs, and those changes shift the calibration baseline we’re trying to lock in.
Standardize inputs so the TV sees consistent signals. Rename HDMI ports, enable low-latency/Game mode for consoles, and force the highest chroma/bit depth (4:2:2 or 4:4:4) when available. For streaming sticks set 4K60 HDR (Roku, Fire TV, Apple TV); for UHD players use direct passthrough.
Test a single source after updating to confirm consistent behavior.

Choose the right picture mode, then set brightness and contrast
Don’t be tempted by ‘Vivid’ — pick the mode that respects the filmmaker, not the shelf salesperson.Choose a picture mode tuned for accuracy — Cinema, Filmmaker, or Movie — and avoid Vivid/Dynamic, which are retail-first, peak‑nit demos. We pick modes that preserve intent and reduce built‑in boosts.
Start with mid‑level Brightness and Contrast (around the center of the sliders). Increase Contrast until whites just begin to clip on bright test content, then dial Brightness down until shadow detail returns. On OLEDs, set lower brightness than on LED/LCD because OLEDs deliver true blacks; on LED/LCD, raise brightness to overcome room light but watch for crushed blacks.
Turn off processing that fabricates picture:
Test HDR using 1000‑nit window patterns regularly to avoid highlight clipping and to protect panel longevity.
Tame color temperature and white balance
Warm whites aren’t a flaw — they’re usually closer to what creators intended. Here’s how we get there.Tackle white balance and color by aiming for D65: manufacturers ship cool, blue‑tinted whites that pop in stores; we neutralize them so skin tones and director intent look natural.
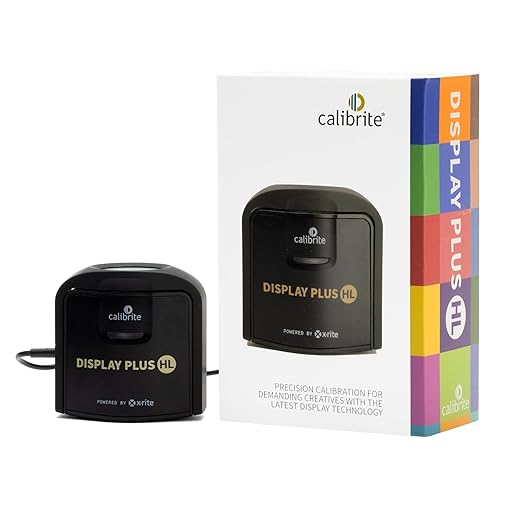
Use a colorimeter and the TV’s 2‑ or 10‑point white‑balance controls to nudge Gain (high end) and Offset (low end) toward factory targets — D65 (~6500K) and the chosen gamma (2.2/BT.1886). For most users, select Warm2 or the TV’s “calibrated” preset and stop there.
Select the color gamut to match content: choose BT.709 for SDR or the panel’s Native gamut only when following a professional workflow; matching standards reduces banding and odd saturation from manufacturer boosts.

Use test patterns and measurement tools
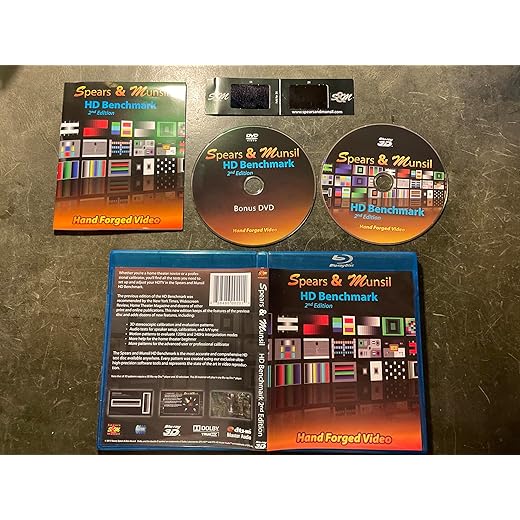
Eyes are great, but objective patterns and a cheap colorimeter make calibration repeatable and defensible.Use test patterns from calibration discs, apps, or online videos to anchor decisions we’d otherwise make by eye. Measure grayscale, contrast, color bars, and checkerboard sharpness rather than guessing.
Run SDR and HDR patterns and note EOTF tracking and black-level response across different window sizes. Measure with a cheap colorimeter plus CalMAN Home or DisplayCAL to get white point and gamma; use a basic test disc to eyeball banding and clipping if you don’t have gear.
Compare streaming content using Premiere studio scenes or known reference shots to verify skin tones and overall intent.
Prefer practicality: if measurements sit within tolerance, favor perceptual tweaks over obsessive numeric chasing.
Fine-tune processing and save profiles for daily use
Settings that look great in a lab can ruin day-to-day UX — save profiles and make switching idiot-proof.Fine-tune processing: we disable motion interpolation for film to preserve texture, allow mild de‑judder for fast sports to reduce stutter, and dial noise reduction conservatively so streaming artifacts, not fine detail, get smoothed. Prefer perceptual choices that serve typical viewing over lab‑perfect numbers.
Finally, we recheck with real content, share settings within our ecosystem, and revisit after firmware or app changes.
A practical calibration philosophy
We focus on usable improvements rather than lab perfection, aligning modes, color and processing so our sets and streaming devices deliver consistent, pleasing images across contexts; this matters for daily enjoyment, product comparisons, and ecosystem parity — are we satisfied now?

Chris is the founder and lead editor of OptionCutter LLC, where he oversees in-depth buying guides, product reviews, and comparison content designed to help readers make informed purchasing decisions. His editorial approach centers on structured research, real-world use cases, performance benchmarks, and transparent evaluation criteria rather than surface-level summaries. Through OptionCutter’s blog content, he focuses on breaking down complex product categories into clear recommendations, practical advice, and decision frameworks that prioritize accuracy, usability, and long-term value for shoppers.