Why a Cable‑Free Charging Station Actually Matters
We walk through creating a clean, cable‑free charging station that balances aesthetics, convenience, and compatibility. We analyze design choices, ecosystem trade‑offs, and real‑world usability so you can choose a setup that truly simplifies daily life in today’s device market landscape.
What We Need

DIY Desk Organization: IKEA Pegboard Charging Station with ANKER Slim Hub
Audit Your Devices and Habits
Which gadgets actually deserve wireless luxury — and which sabotage your setup?Audit every device we want to charge: phones, earbuds, watches, tablets, and occasional guests’ gear. List each item’s charging standard (Qi, MagSafe, proprietary puck, USB‑C PD), connector, and whether it needs a wired fast charge or tolerates slow overnight wireless.
Observe habits: where devices rest during the day, which need quick top‑ups, and which compete for overnight power. This snapshot tells us whether a single multi‑coil pad, stacked pucks, or a hybrid wired+wireless hub fits best. It also flags heat, size, and placement trade‑offs and clarifies ecosystem advantages — Apple’s MagSafe alignment versus Samsung/Pixel higher‑watt wireless behaviors — so we don’t buy incompatible hardware.
Choose the Right Charging Architecture
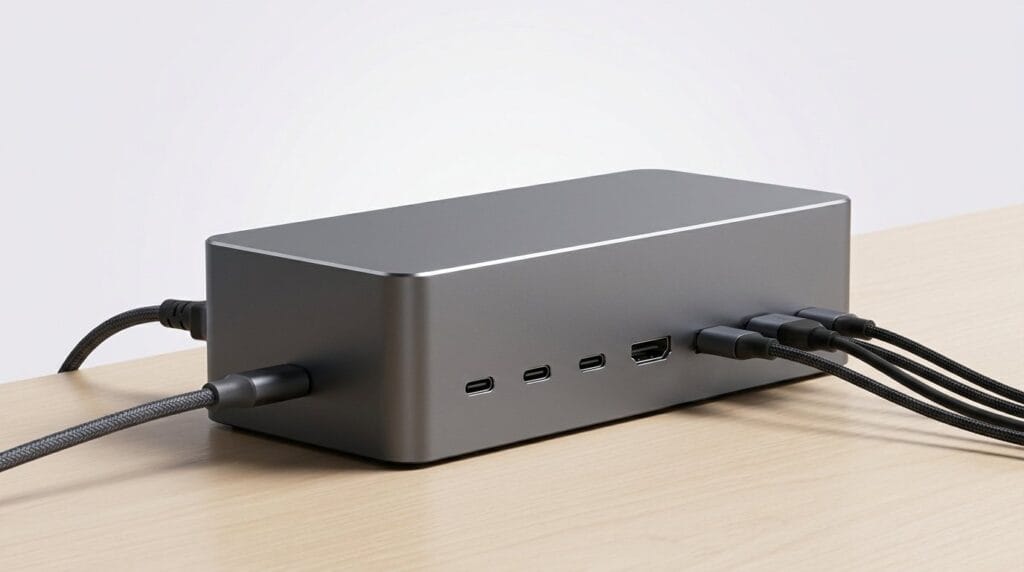
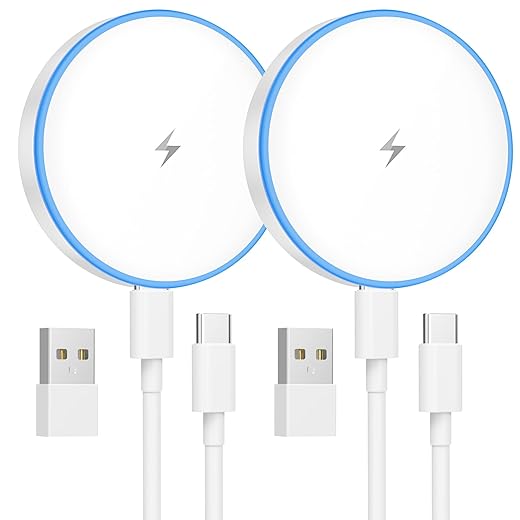
Single pad, puck array, or hybrid — which architecture wins in everyday use?Pick an architecture that matches our daily routines and device mix: single multi‑coil pads for drop‑and‑go simplicity, puck arrays for defined spots, or hybrid hubs that pair USB‑C PD ports with wireless coils.
Weigh trade‑offs clearly: single multi‑coil pads simplify hosting but can heat and waste power with multiple devices. puck arrays give alignment and scale — crucial if a watch needs its proprietary disc. hybrid hubs deliver wired fast charging for tablets and hungry phones while keeping wireless for daily top‑ups; we like this pragmatic compromise.
Size power and compatibility: confirm adapter wattage and intelligent power allocation (if we want 2 phones + a tablet, budget ~65–100W PD). Factor in cost‑per‑port, brand lock‑in (MagSafe vs broad Qi), and upcoming Qi2/PD standards for longevity and resale value in cell phone accessories.

Select Hardware and Power
Not all chargers are equal — are you buying speed, style, or regrets?Pick the charging modules we actually use: a tested multi‑coil pad or a puck array with dedicated spots, plus a few modular pucks if we expect future swaps. We prioritize Qi certification and overcurrent protection over glossy marketing.
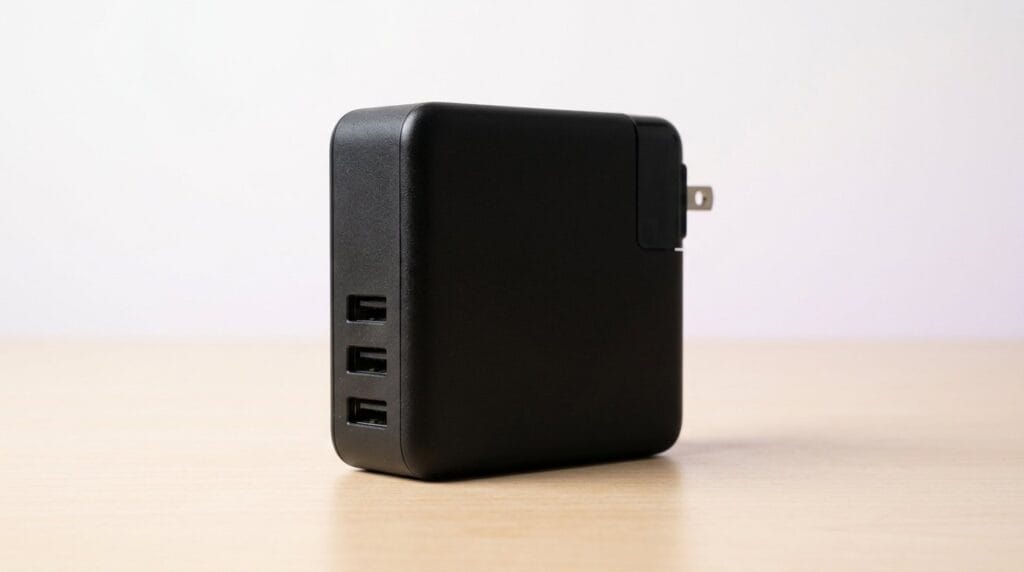
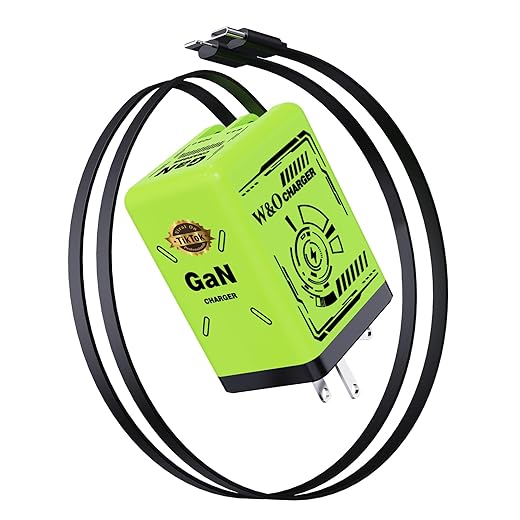
Choose a single high‑quality GaN USB‑C PD brick (100W–140W) and let it feed our hub. We’ve found one well‑allocated brick beats several cheap adapters for reliability and less wall clutter.
Prefer short, braided USB‑C runs and a single trunk cable to the adapter to keep the visual plane clean. Match materials—matte plastic or silicone surfaces for grip, aluminum for heat and a premium look—based on use.
Account for replaceability and warranty: modular pucks upgrade easily; integrated pads look cleaner but can be obsolete faster. Match finish and scale to room: prioritize design in living rooms, speed and ergonomics at desks.

Plan Layout and Cable Concealment
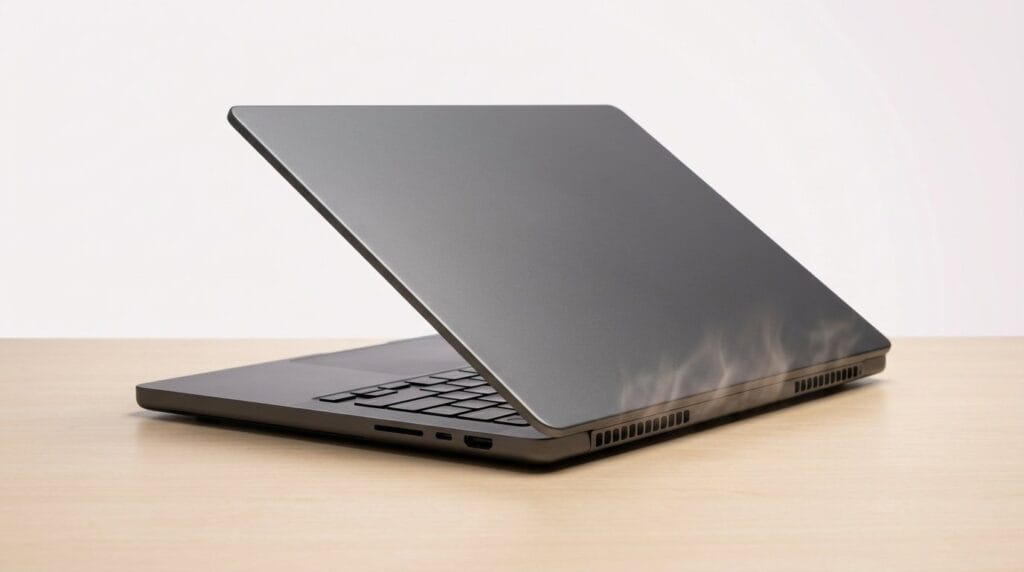
Treat cables like background actors — make them serve the scene, not steal it.Design the station around the nearest outlet, device alignment, and airflow—this matters because modern slim chargers need clearance to avoid thermal throttling. Position pads or pucks so devices sit naturally: phone where we reach, earbuds in a recessed well, and power bricks in ventilated spots.
Anchor cables with low‑profile adhesives, under‑desk trays, or discrete raceways to hide runs without permanent remodeling. Recess the adapter in a small in‑wall box for wall mounts, or mount it on a slim profile board to avoid visible bulk.
Plan cable lengths so trunks run along furniture seams or behind baseboards, minimizing visible loops and easing swaps. Keep ports reachable for maintenance, avoid pinched cords, and follow local electrical codes.

Install, Test, and Optimize
We tweak until charging is boring — because boring means it works.Anchor cables and mount pads or pucks exactly to manufacturer guides; use removable double‑stick or small screws for a tidy, serviceable job. Place the GaN brick where it can breathe—on a raised pad or ventilated board—not hidden under fabric.
Test each device in the positions you’ll actually use. Move phones around to confirm alignment and charge rates; if a phone throttles, shift the coil or shorten the USB run. Reseat a watch puck if it won’t wake.
Enable smart charging and update firmware. Verify adapter wattage with a USB power meter.
Run a week of habit testing, tweak placements or power allocation, and monitor temperatures and charge curves until the station disappears into routine.
Maintain, Upgrade, and Integrate
Standards change fast — plan upgrades so you’re not stuck with yesterday’s tech.Schedule quarterly checks: clean charging surfaces, inspect cable strain points, and review adapter temperatures so the station stays invisible in daily use. Monitor firmware support package from dock makers and OS updates — they often fix power‑negotiation quirks that improve real‑world charge rates.
Favor modular changes over full replacements. When higher‑watt PD or Qi2 alignment lands, swap a puck or the GaN brick instead of tossing a monolithic pad; it’s cheaper and keeps our aesthetic intact. Think ecosystem, not just hardware: a USB‑C smart power brick with scheduling, or matter.

Keep It Simple, Useful, and Future‑Ready
We can build a charging station that disappears into the home by prioritizing device audits, hardware, thoughtful layout, and ecosystem fit; this method beats gimmicks—try it in our how-to guides, share your setup, and help us refine practices.
Frequently asked questions
What should I prepare before I set up a clean, cable-free charging station?
Start with the checklist in the “What we’ll need” section above—measure your space, confirm compatibility with your gear, and read the full walkthrough once before you change settings or buy parts. Clean, cable-free charging station goes faster when prep is done upfront.
How long does it take to set up a clean, cable-free charging station?
Most readers finish in about 30–90 minutes if they already have the right parts, but budget extra time for measurements, firmware updates, or a second pass when something does not behave the way the manual suggests on the first try.
What is the hardest part when you set up a clean, cable-free charging station?
The step that trips people up is usually alignment or configuration—getting measurements, cable routing, or software settings right before you commit. If results still look off, re-check the basics in order instead of swapping hardware immediately.
What mistakes should I avoid when I set up a clean, cable-free charging station?
Skipping measurements, ignoring ventilation or port limits, and rushing the final test are the common failures. Photograph your starting setup, label cables, and verify the outcome with the same content or workflow you will use every day—not a one-off demo.
When should I call a pro instead of trying to set up a clean, cable-free charging station myself?
Bring in help when the job needs structural work, licensed wiring, or tools you do not own, or when repeated attempts still fail after you have followed the troubleshooting section. A short paid visit can cost less than replacing gear you damaged by forcing the install.

Princess Rioboca is the Lead Editorial Writer at Option Cutter, bringing over seven years of hands-on experience in consumer technology journalism. Specializing in home networking and smart home architecture, she transforms complex technical data into practical, real-world upgrades. Princess personally tests and audits every product she reviews—evaluating real-world Wi‑Fi throughput, cable management durability, and streaming ecosystem stability—to filter out spec-sheet noise. Her rigorous, field-tested insights are designed to give readers transparent, unbiased buying advice on what to purchase, what to skip, and exactly why.