Why we bothered to add Magnetic Qi2 to any phone
We walk a practical, design-minded path to add magnetic Qi2 charging to phones that lack it. We prioritize user experience, safety, thermal limits, and ecosystem fit so magnetic charging becomes convenient, compatible, and reliable for everyday use in the market.
What we’ll need

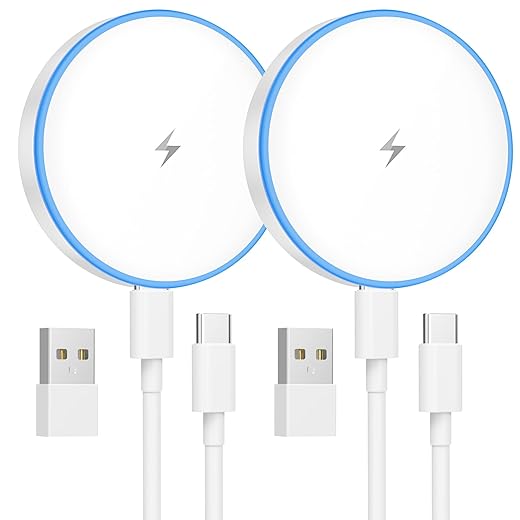
QI2 Magnetic Wireless Charger: Fast
Choose the right Qi2 receiver or adapter
Not all magnetic rings are equal — how do we pick one that won’t turn our phone into a slow cooker?Compare receiver types: thin magnetic puck-style Qi2 modules, adhesive coil stickers, and integrated case rings. Favor certified Qi2 receivers — they negotiate power profiles and actually hit advertised wattages.
Check for these essentials before buying
Measure the receiver, read teardown notes, and compare real-world tests (watts, temps). Prioritize verified performance and fit over cheap looks; a pretty sticker that throttles at 40°C ruins the experience.

Inspect and prepare the phone and case
Where’s the coil? Why cleaning and spacing are the parts everyone skips (to regret later).Locate the phone’s internal coil and check case thickness — some models only charge through a narrow zone, and thick or metal-backed cases kill coupling. We’ve seen OtterBox-style cases block charging while thin silicone works fine.
Remove the case and clean the back with isopropyl alcohol so adhesives stick and heat conducts predictably.
Use a temporary paper template and a small wireless charger to map the coil: move the charger while watching charging indicators to find the sweet spot. Mark it.
Scan and avoid nearby components to prevent interference
Align the receiver so it sits over the coil region and clears sensors; we do this to preserve functionality and minimize hotspots when charging.

Attach the magnetic Qi2 receiver correctly
A neat adhesive job beats a reshaped phone — here’s our exact placement ritual.Position the receiver so its coil sits concentric with the phone’s charging coil and its magnets match the intended orientation; Coil alignment is the single biggest factor in real-world wattage and stability.
Peel the backing and apply peel-and-stick receivers from one edge, smoothing air pockets with a card to maintain uniform contact; segmented adhesive makes this easier and more forgiving.
Center puck-style receivers precisely — a misaligned puck can cut wattage by half and create hot spots.
Avoid gluing or placing the receiver over sensitive areas.
Test-fit any protruding receiver with a slim case to check for bulge or pressure points; swap mounts or thin the case if the phone won’t sit flush.
Note: proper placement affects charge speed, heat distribution, and the tactile feel when you snap on magnetic accessories.
Integrate the receiver into a case or mount
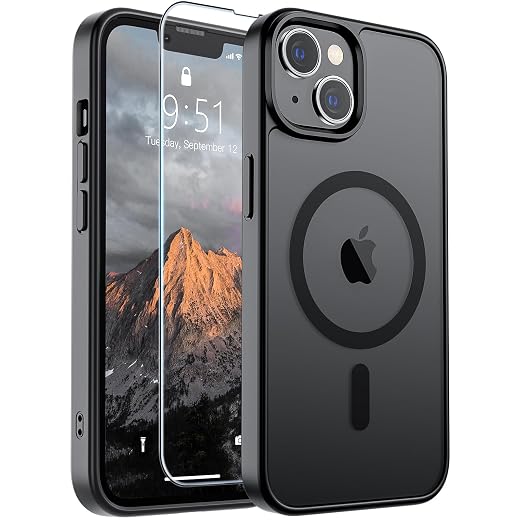
Hide it, secure it, or make it a feature — the case is more than cosmetics here.Use a dedicated MagSafe‑compatible case when you want a clean, modular result; it preserves alignment and accessory compatibility in today’s ecosystem.
Adapt a slim TPU/PC case by routing a shallow recess with a hobby knife or Dremel—sink the coil so the back sits flush. (We trimmed a Fusion case ~0.8 mm and kept residual grip.)
Embed the receiver with thin double‑sided adhesive and press uniformly. Reinforce edges with a flexible silicone gasket or thin foam to stop peeling and damp vibration.
Consider 3D‑printed adapters or a thin milled aluminum ring for custom mounts; they lock tolerances and improve magnetic seating for mounts and wallets.
Balance grip, thermal dissipation, and magnetic hold: stronger magnets stabilize accessories but can disturb NFC/compass sensors.
Test charging, measure performance, and tune
We don’t guess wattage — we measure it. Here’s how to get reliable charging without surprises.Power up a certified Qi2 puck and start logging with a USB‑C power meter and a charging app; we use those readings to tune alignment and heat.
We power up a certified Qi2 charger and attach the phone with the newly installed receiver. Using a USB-C power meter and charging app, we log initial wattage, voltage, and temperature over a 15-minute window. If charge rates are low, we re-check alignment and case thickness, and swap the receiver orientation if possible. We monitor for thermal throttling — sustained temps above safe thresholds mean either the adapter or case is insulating too much. We also verify accessory compatibility (magnetic mounts, wallets) and confirm NFC payments still function. Fine-tuning often involves micro-adjustments to position or swapping to a thinner case to regain a full-speed, reliable experience.
Troubleshoot, finalize, and consider long-term trade-offs
When to accept compromises, when to buy a new case, and how this fits into the wider charging ecosystem.Frequently asked questions
What should I prepare before I add magnetic qi2 charging to any phone?
Start with the checklist in the “What we’ll need” section above—measure your space, confirm compatibility with your gear, and read the full walkthrough once before you change settings or buy parts. Add magnetic qi2 charging to any phone goes faster when prep is done upfront.
How long does it take to add magnetic qi2 charging to any phone?
Most readers finish in about 30–90 minutes if they already have the right parts, but budget extra time for measurements, firmware updates, or a second pass when something does not behave the way the manual suggests on the first try.
What is the hardest part when you add magnetic qi2 charging to any phone?
The step that trips people up is usually alignment or configuration—getting measurements, cable routing, or software settings right before you commit. If results still look off, re-check the basics in order instead of swapping hardware immediately.
What mistakes should I avoid when I add magnetic qi2 charging to any phone?
Skipping measurements, ignoring ventilation or port limits, and rushing the final test are the common failures. Photograph your starting setup, label cables, and verify the outcome with the same content or workflow you will use every day—not a one-off demo.
When should I call a pro instead of trying to add magnetic qi2 charging to any phone myself?
Bring in help when the job needs structural work, licensed wiring, or tools you do not own, or when repeated attempts still fail after you have followed the troubleshooting section. A short paid visit can cost less than replacing gear you damaged by forcing the install.

Princess Rioboca is the Lead Editorial Writer at Option Cutter, bringing over seven years of hands-on experience in consumer technology journalism. Specializing in home networking and smart home architecture, she transforms complex technical data into practical, real-world upgrades. Princess personally tests and audits every product she reviews—evaluating real-world Wi‑Fi throughput, cable management durability, and streaming ecosystem stability—to filter out spec-sheet noise. Her rigorous, field-tested insights are designed to give readers transparent, unbiased buying advice on what to purchase, what to skip, and exactly why.