
Why Dual 4K? A Practical Take
We guide you through building a dual 4K workstation that balances performance, ergonomics, and ecosystem fit. We compare ports, GPUs, and docks, explain trade-offs, and show how thoughtful choices cut clutter and future‑proof workflows for creatives and pros today, efficiently.
What We Need
We need:
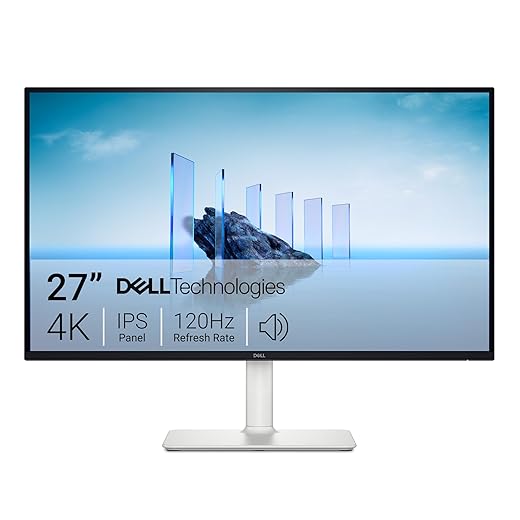
Choose the Right Monitors
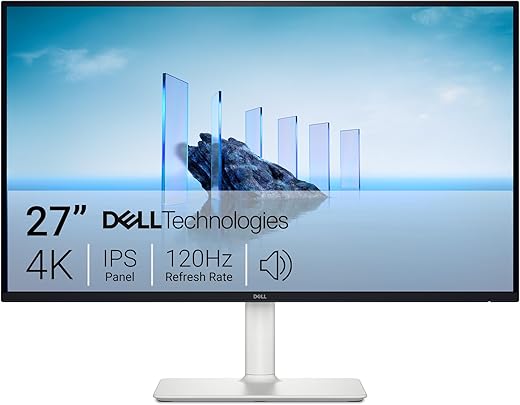
IPS for color fidelity, fast panels for motion — why settling matters more than you think.Pick monitors that match our use case: we favor IPS for accurate colors and consistent viewing angles; VA can give deeper blacks but usually sacrifices color fidelity. Prioritize native 100% scaling at 4K, a wide color gamut for creative work, and HDR only when it’s well-implemented — these details matter more now that content standards have split between sRGB and DCI‑P3.
For example, we often choose Dell or LG models that balance calibration tools and ergonomic stands.

Confirm GPU and Port Compatibility
Can your machine actually drive two 4Ks at 60Hz? Spoiler: not all laptops or cheap GPUs can.Audit our GPU and outputs.
Check the GPU model, the number and version of ports (DisplayPort 1.4/2.0, HDMI 2.1), and the advertised refresh-rate support — for example, verify whether an RTX 3070 can drive two 4K@60 displays or 4K@120 with DSC.
Confirm that our GPU has enough VRAM and driver support for our workload (video editing, 3D rendering, heavy browser multitasking).
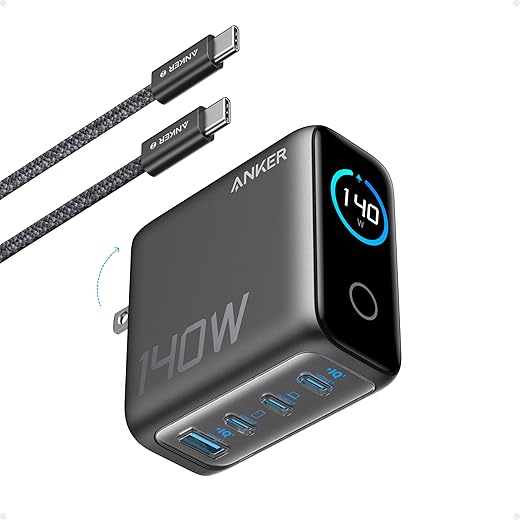
Analyze laptop Thunderbolt/USB‑C bandwidth and dock specs; many laptops need a Thunderbolt 3/4 dock rated for dual 4K@60 to avoid bandwidth bottlenecks.
Test with native cables and the GPU control panel, then with the dock.
Avoid the classic mismatch where great monitors meet a choked GPU and deliver poor multitasking or dropped frames.
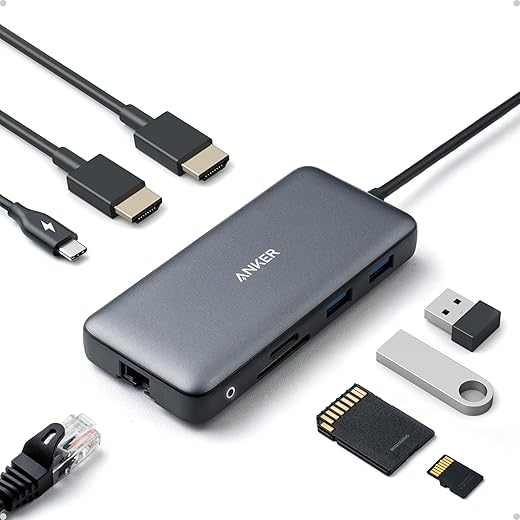
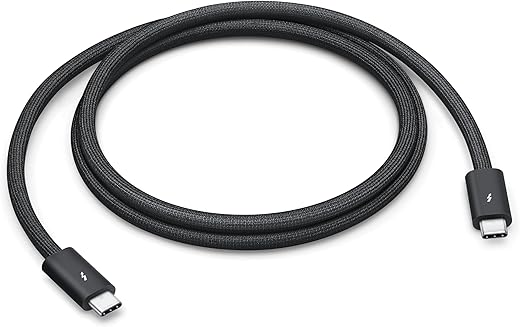
Decide on Cabling and Docking
DisplayPort, HDMI, or Thunderbolt? The cable choice shapes performance, simplicity, and desk clutter.Map our connections before unboxing. Choose DisplayPort 1.4/2.0 or HDMI 2.0/2.1 based on desired refresh, HDR, and MST support. For laptops, choose a Thunderbolt 3/4 dock that supplies power and outputs dual DisplayPort via MST or daisy‑chaining to keep one-cable mobility — for example, a dock providing 100W and two DP outputs.

Mounting and Ergonomics
Two 4Ks are heavy on neck and posture — let’s design a setup we’ll actually enjoy sitting at.Position monitors so the top third of the display sits at our eye level to minimize neck flex. For 27–32″ 4K panels sit about 24–36 inches (60–90 cm) back — closer makes UI elements feel tiny; farther loses readable detail.
Use VESA arms for height, tilt and swivel. In a market chasing slim bezels and high DPI, arms let us create a continuous top‑line and feel more cohesive than static stands.
Match heights and tilt between screens, angle them into a shallow curve, and tilt slightly downward to cut glare. Route cables through arm channels and secure with Velcro to keep the desk clean.
Configure Display Settings and Scaling
Windows scaling, macOS HiDPI, or manual tweaks — which yields the clearest interface and why?Set native resolution first. We set each monitor to its native 3840×2160, then adjust scaling to keep the UI legible without losing workspace. On Windows try 125% or 150%—fractional scaling can be messy and introduce blurriness; on macOS pick a HiDPI scaled option, but expect non‑Retina apps to render fuzzily.
Load manufacturer ICC profiles and, when necessary, calibrate with a colorimeter (for example, an X‑Rite i1Display Pro). Match white point and brightness between screens to reduce cognitive friction when dragging windows; aim for ~6500K and similar luminance.

Cable Management and Desk Layout
A tidy desk isn’t vanity — it’s the UX of focus. Small fixes, big payoff.Route cables: bundle power and data separately using Velcro straps and an under‑desk tray to keep power bricks off the floor. Label both ends with printed tags so we can swap monitors or docks without guesswork.
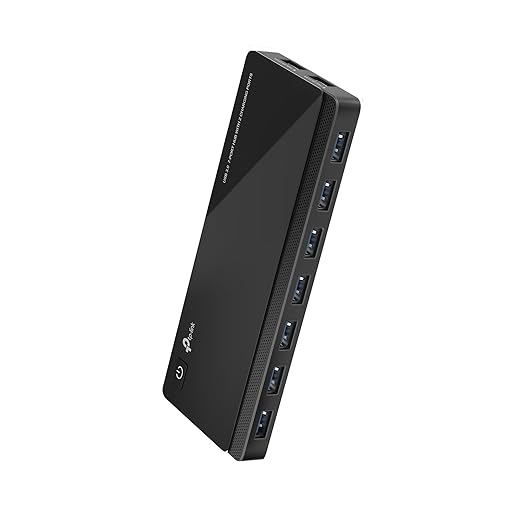
Position peripherals: place docks and powered USB hubs within arm’s reach to shorten runs; power high‑draw devices from the hub to avoid voltage drop and USB instability. Keep AC power away from RF‑sensitive dongles to reduce interference.
Avoid glare: angle monitors to avoid window reflections and install dimmable bias lighting behind the panels to stabilize perceived contrast and reduce eye fatigue.
Optimize Workflow and System Integration
Beyond pixels: software tweaks and ecosystem choices that turn two screens into a coherent workspace.Optimize window management and app layouts so the two 4K panels act like one coherent workspace. We assign task zones (coding, reference, media) and use virtual desktops and snapping utilities to switch contexts without digging through menus.
Apply calibrated color profiles and GPU-display profiles per monitor, and save those ICC/GPU presets so color-critical work reproduces reliably. Prefer standards—DisplayPort/USB‑C and ICC—over vendor‑locked docks and control apps to keep portability across macOS, Windows, and Linux.
Back up settings: export monitor profiles, GPU workspace presets, and a copy of any dock firmware. Lock power and driver update behavior (or test updates in a snapshot) to avoid sudden regressions.
Final Thoughts
We’ve outlined a practical path to a dual 4K setup that prioritizes clarity, ergonomics, and ecosystem choice; in today’s high-resolution, competitive market this boosts focus and workflow—try it, tell us your results, and help others choose smarter and share feedback.

Chris is the founder and lead editor of OptionCutter LLC, where he oversees in-depth buying guides, product reviews, and comparison content designed to help readers make informed purchasing decisions. His editorial approach centers on structured research, real-world use cases, performance benchmarks, and transparent evaluation criteria rather than surface-level summaries. Through OptionCutter’s blog content, he focuses on breaking down complex product categories into clear recommendations, practical advice, and decision frameworks that prioritize accuracy, usability, and long-term value for shoppers.