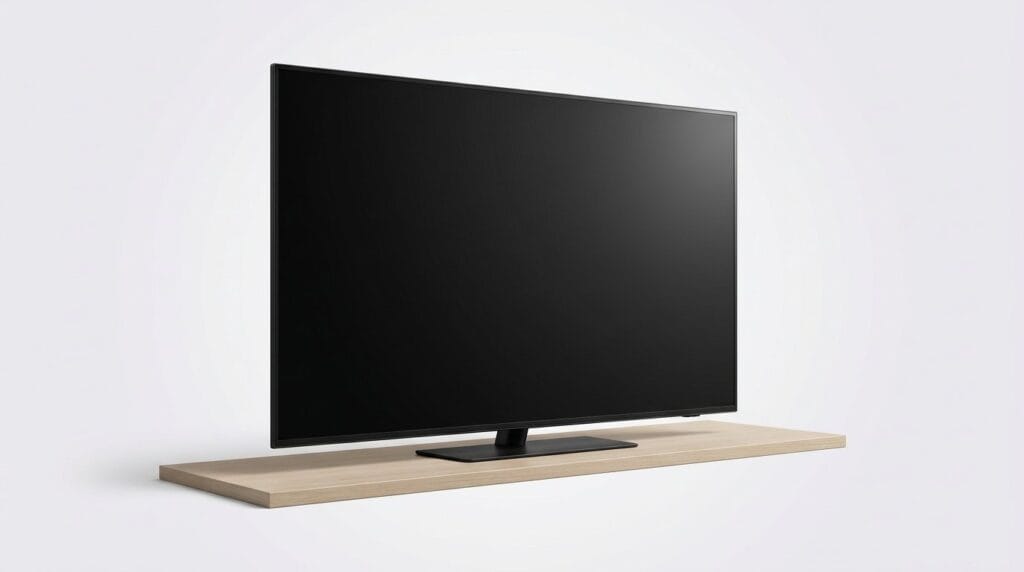
Why a 32-inch 4K Monitor Might Be the Productivity Sweet Spot
We find 32-inch 4k monitors hit a sweet spot: big enough for multitasking, sharp enough for detailed work, and compact enough for most desks. This guide helps us pick one that fits our workflow, design taste, and ecosystem needs today in our how-to guide.
What We'll Need

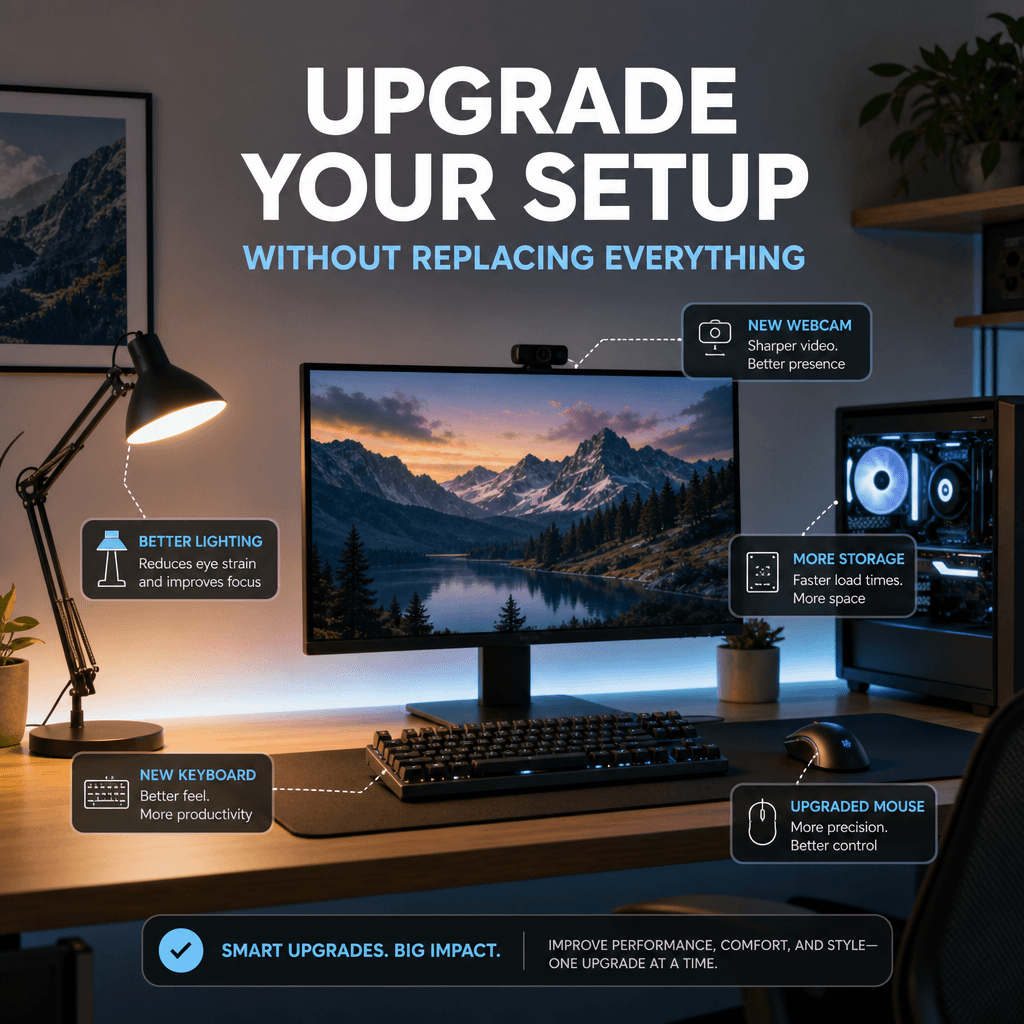
Ultimate Productivity Monitor: LG 32” 4K UltraFine Ergo Setup
Decide How You'll Use It: Workflow First
Multitasking, design, or coding—what we do changes everything. Which hat are we wearing?Map our daily tasks before shopping. We start by listing what we actually do — juggling windows, pixel-perfect design, long coding sessions — because that determines the pixel density we need, how much usable space we want, and whether OS scaling will be a headache.
Pick concrete examples to guide specs
Factor in secondary uses like light gaming or video: higher refresh rates, low input lag, and decent hdr. Also consider ecosystem behavior — macOS handles HiDPI scaling differently than Windows (which can blur legacy apps), and that affects whether 4K on 32 inches feels crisp or fiddly.
Lock use cases up front, and we avoid chasing marketing specs that don’t move the needle for our real work.
Pick the Right Panel and Image Quality
IPS vs VA vs OLED—one of them actually makes our eyes hurt less and our colors truer. Curious which?Choose the panel type that matches our work, because the underlying tech shapes everything from contrast to color consistency. IPS remains the pragmatic favorite for consistent viewing angles and reliable color; VA gives deeper blacks but can smear on moving UI elements; oled delivers perfect contrast at a premium but carries burn‑in risk for static toolbars and sidebars.
Prefer panels with these trade-offs in mind
Check native 4K clarity at ~140 PPI on 32‑inch — that density is where text looks crisp without aggressive scaling. Test OS scaling behavior: macOS handles HiDPI better; Windows can blur legacy apps, which matters if we run older software.
Beware of gamut and HDR marketing. Inspect advertised sRGB/DCI‑P3 numbers, look for factory calibration and low delta‑E, and ignore HDR unless the panel has high peak brightness and local dimming.
Consider hardware‑calibration support (3D LUT, CalMAN/X‑Rite workflows) if we do color‑critical work; it’s worth paying extra for accurate, repeatable results.
Match Physical Design to Our Workspace
A 32-inch beast needs to fit our desk—and our neck. Do we want a curved throne or a flat pane?Measure desk depth and line-of-sight first so a 32‑inch 4K monitor won’t force us uncomfortably close; aim for roughly 20–36 inches (50–90 cm) depending on our sight and OS scaling.
Check stand adjustability — height, tilt, and swivel — and confirm the range lets us put the screen midpoint at eye level without neck strain.
Verify VESA compatibility (usually 100×100) if we plan to mount an arm; test an arm’s reach on our desk and shelves before buying.
Compare bezel width for multi‑monitor layouts; thin bezels look cleaner but curved panels complicate alignment and can introduce color shifts at edges.
Consider curvature only after trial: it reduces perceived size and adds immersion, but it can make multi‑panel seams and color uniformity worse.
Inspect build quality, cable routing, and OSD control ergonomics — a front‑facing joystick is faster than fiddly side buttons.
Try these quick checks before checkout
A good physical design integrates with our furniture and routine, not the other way around.

Choose Connectivity and Ecosystem Integration
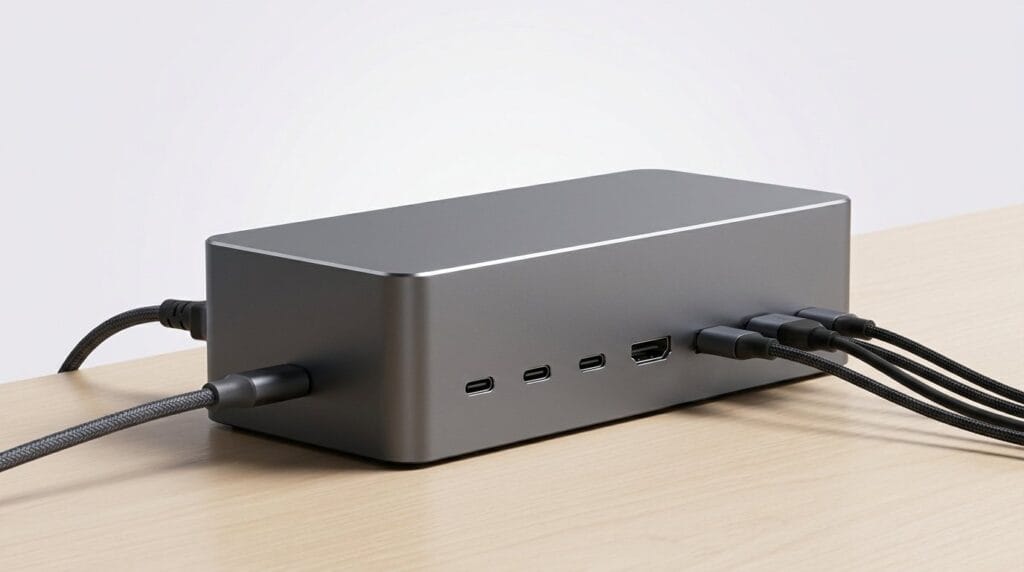
One-cable docking? Yes please—let’s make our laptop feel like a desktop in seconds.Prioritize USB‑C with Power Delivery or Thunderbolt so the monitor can be our single‑cable dock — we want video, data, and laptop charging in one connection.
Require a native DisplayPort input (or DP Alt Mode over USB‑C) for guaranteed 4K at 60 Hz or higher; HDMI on many monitors still limits refresh or chroma unless it’s HDMI 2.1.
Check for multiple inputs and a built‑in USB hub so we can keep a keyboard, mouse, and external SSD plugged into the display. Add KVM support if we frequently toggle between a desktop and a laptop — it saves an extra switch and cable juggling in hybrid setups.
Factor in downstream charging power: match the monitor’s PD wattage to our laptop (for light notebooks 60–65W might be fine; for larger machines aim for 90–100W or confirm passthrough behavior).
Evaluate software and OS quirks: test macOS scaling vs Windows, confirm vendor apps (firmware updates, color profiles) work reliably, and verify the monitor integrates with our color‑management workflow.
Consider audio, webcam, and mic quality only if we plan to replace separate accessories — built‑ins vary widely; look for privacy shutters and certified mics for reliable calls.
Evaluate Real-World Performance, Support, and Value
Benchmarks are fine—comfort, reliability, and warranty often win. How do we test before we commit?Synthesize lab specs, hands‑on checks, and long‑term reports before we commit. Run quick, practical tests and weigh service, warranty, and lifetime costs so our pick works for months, not just a spec sheet.
Use this quick checklist in person or when reading reviews
Read user forums for firmware stability and RMA stories, compare warranties and return windows, and tally total cost of ownership (calibration tool, stand, or a pricier panel that saves headaches). Put each monitor against similarly priced rivals and decide which compromises — like uneven uniformity or poor firmware — are deal‑breakers for our workflow.

Putting It Together: Which 32-inch 4K to Buy
We distill workflow needs, ergonomics, panel quality, and ecosystem fit into a shortlist that favors day-to-day productivity over specs-showing; pick the model matching your use, test it in your setup, then tell us what stuck—share results and help others choose.
Frequently asked questions
What should I prepare before I choose a 32-inch 4k productivity monitor?
Start with the checklist in the “What we’ll need” section above—measure your space, confirm compatibility with your gear, and read the full walkthrough once before you change settings or buy parts. 32-inch 4k productivity monitor goes faster when prep is done upfront.
How long does it take to choose a 32-inch 4k productivity monitor?
Most readers finish in about 30–90 minutes if they already have the right parts, but budget extra time for measurements, firmware updates, or a second pass when something does not behave the way the manual suggests on the first try.
What is the hardest part when you choose a 32-inch 4k productivity monitor?
The step that trips people up is usually alignment or configuration—getting measurements, cable routing, or software settings right before you commit. If results still look off, re-check the basics in order instead of swapping hardware immediately.
What mistakes should I avoid when I choose a 32-inch 4k productivity monitor?
Skipping measurements, ignoring ventilation or port limits, and rushing the final test are the common failures. Photograph your starting setup, label cables, and verify the outcome with the same content or workflow you will use every day—not a one-off demo.
When should I call a pro instead of trying to choose a 32-inch 4k productivity monitor myself?
Bring in help when the job needs structural work, licensed wiring, or tools you do not own, or when repeated attempts still fail after you have followed the troubleshooting section. A short paid visit can cost less than replacing gear you damaged by forcing the install.

Princess Rioboca is the Lead Editorial Writer at Option Cutter, bringing over seven years of hands-on experience in consumer technology journalism. Specializing in home networking and smart home architecture, she transforms complex technical data into practical, real-world upgrades. Princess personally tests and audits every product she reviews—evaluating real-world Wi‑Fi throughput, cable management durability, and streaming ecosystem stability—to filter out spec-sheet noise. Her rigorous, field-tested insights are designed to give readers transparent, unbiased buying advice on what to purchase, what to skip, and exactly why.