Why choosing the right home NAS still matters
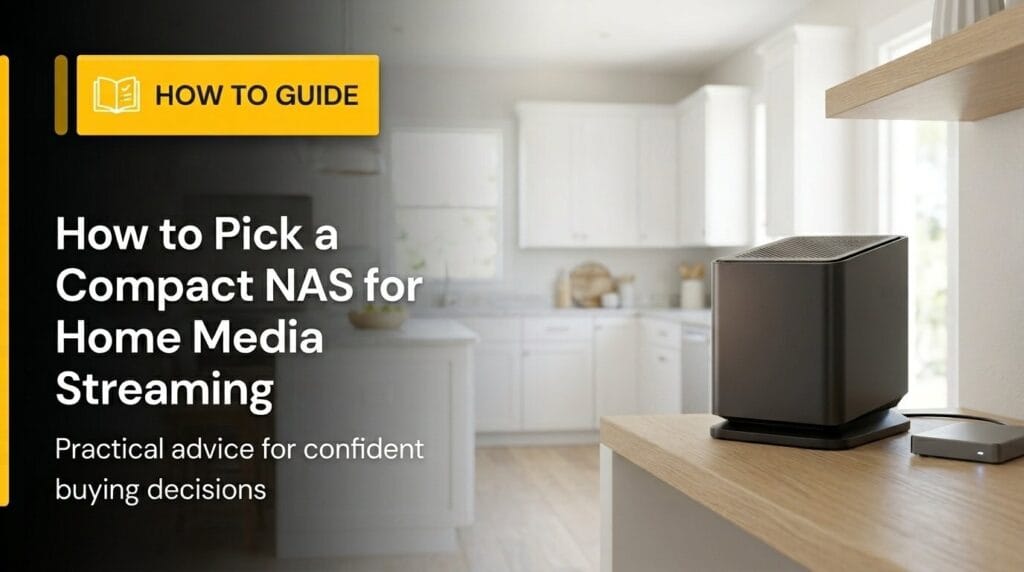
We cut through marketing noise to show how a home NAS fits our devices, habits, and risk tolerance. Focusing on design, ecosystem, and UX, we explain practical trade-offs so the NAS actually gets used daily and protects our data reliably in our how-to guide.
What you'll need before we start

The Ultimate Beginner’s NAS Guide
Step 1 — Define our backup goals and threat model
Do we want a mirror, a time machine, or protection against theft and ransomware?Define what we actually want the NAS to do: occasional file access, continuous versioning, media streaming, or full system imaging. We pick priorities up front because they drive capacity, CPU, and software choices — a photo archive needs deep versioning and search-friendly apps; a Plex box needs transcoding and network speed.
Map threats to concrete features. For example
Analyze our daily habits and household tech: who restores files, how often, and where we are willing to trade cost for convenience. Analyze our threat model and map outcomes to RAID, snapshots, air-gapped backups, and cloud sync.
Step 2 — Choose bays and redundancy that fit real life
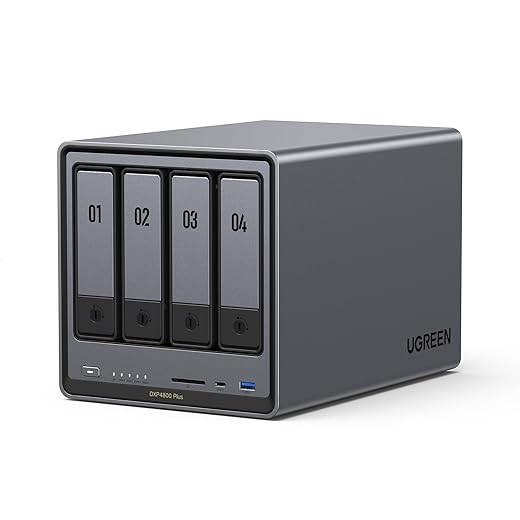
Bigger cabinets mean more options — but do we really need them? Is RAID insurance or illusion?Pick the bay count and redundancy that match how we actually live with our data. A single bay is simple and cheap but offers zero protection; a 2‑bay mirror (RAID 1) gives straightforward, fast recovery and easy drive swaps. Larger arrays let us use RAID 5/6 or vendor schemes like Synology SHR to mix sizes, but they bring longer rebuilds and more complexity.
Think through typical scenarios
Test how easy it is to hot-swap drives, expand pools, and monitor rebuilds in the vendor UI before buying.

Step 3 — Evaluate hardware, performance, and form factor
Do we want a whisper-quiet librarian or a power-hungry workstation? Specs shape experience.Assess processors, RAM, and storage interfaces so our NAS performs for real tasks. ARM units save power and handle light backups; Intel/AMD CPUs with NVMe excel at Plex transcoding, VMs, and Docker.
Choose drives with purpose: NAS‑grade HDDs for bulk storage and endurance, consumer SSDs for OS or cache, or a hybrid HDD+SSD layout for responsive media libraries. For example, pick an Intel quad‑core and 8–16 GB RAM plus NVMe cache if we plan to transcode 4k.
Opt for a chassis with good cooling and low noise to keep drives healthy and the household quiet. Match CPU/RAM to our intended workload rather than overbuying specs that sit idle.

Step 4 — Inspect software, apps, and ecosystem fit
Is the OS a helpful concierge or a locked toolbox? Which platform actually plays nice with our devices?Inspect the NAS’s OS ecosystem early. Synology DSM, QNAP QTS, TrueNAS, and Unraid offer very different experiences; vendor firmware. We prefer systems that make backups easy to start and invisible day‑to‑day.
Test concrete workflows: set up Time Machine, a Windows File History share, and your phone’s photo backup. Install mobile apps and the desktop sync client; run a small sync and a restore to verify speed and clarity.
Look for these essentials before buying
Prefer software that reduces friction so backups become habitual and recoveries are obvious.
Step 5 — Calculate total cost of ownership, not just sticker price
The bargain NAS can cost more later — what's the real 3–5 year bill?Tally real costs before you buy. Account for chassis price, the drives you’ll actually buy, at least one spare drive, expected replacement cadence, and ongoing power and network costs. Include warranty/support and potential data‑recovery fees or paid phone support.
Run two quick scenarios: a cheap 2‑bay NAS + cloud backup (low upfront, higher monthly and egress risk) versus a pricier 4‑bay with local redundancy + optional cloud replication (higher initial, predictable ongoing). Build a 3–5 year spreadsheet including one drive replacement to see which combo fits a household budget and gives predictable recovery.
Step 6 — Plan setup, maintenance, and tested recovery workflows
Setup is the easy bit. Can we actually recover when something goes wrong?Plan a pragmatic setup checklist before we call a NAS “installed.” Keep the UX simple so we’ll actually maintain it.
Run recovery drills monthly: restore a random file, restore a 5GB photo folder, and boot a full-share restore to a spare drive or VM; time the process. Document encryption keys, admin credentials, and keep them offline. Monitor alerts and automated health reports. Combine local speed with offsite redundancy — but only if we maintain and test the chain. A NAS bought and forgotten isn’t a backup.

Make a choice that you’ll actually maintain
We prioritize redundancy, ease of use, and ecosystem fit over raw specs, pick a NAS matching our habits, budget for realistic costs, commit to periodic recovery tests, try it and tell us your setup.
Frequently asked questions
What should I prepare before I choose a network-attached storage for home backup?
Start with the checklist in the “What we’ll need” section above—measure your space, confirm compatibility with your gear, and read the full walkthrough once before you change settings or buy parts. Network-attached storage goes faster when prep is done upfront.
How long does it take to choose a network-attached storage for home backup?
Most readers finish in about 30–90 minutes if they already have the right parts, but budget extra time for measurements, firmware updates, or a second pass when something does not behave the way the manual suggests on the first try.
What is the hardest part when you choose a network-attached storage for home backup?
The step that trips people up is usually alignment or configuration—getting measurements, cable routing, or software settings right before you commit. If results still look off, re-check the basics in order instead of swapping hardware immediately.
What mistakes should I avoid when I choose a network-attached storage for home backup?
Skipping measurements, ignoring ventilation or port limits, and rushing the final test are the common failures. Photograph your starting setup, label cables, and verify the outcome with the same content or workflow you will use every day—not a one-off demo.
When should I call a pro instead of trying to choose a network-attached storage for home backup myself?
Bring in help when the job needs structural work, licensed wiring, or tools you do not own, or when repeated attempts still fail after you have followed the troubleshooting section. A short paid visit can cost less than replacing gear you damaged by forcing the install.

Princess Rioboca is the Lead Editorial Writer at Option Cutter, bringing over seven years of hands-on experience in consumer technology journalism. Specializing in home networking and smart home architecture, she transforms complex technical data into practical, real-world upgrades. Princess personally tests and audits every product she reviews—evaluating real-world Wi‑Fi throughput, cable management durability, and streaming ecosystem stability—to filter out spec-sheet noise. Her rigorous, field-tested insights are designed to give readers transparent, unbiased buying advice on what to purchase, what to skip, and exactly why.